Vancouver’s climate makes roof leaks in heavy rain particularly common, with the city receiving approximately 1,200mm of rainfall annually. This persistent moisture, combined with strong coastal winds and seasonal freeze-thaw cycles, creates perfect conditions for roof vulnerabilities to develop. Additionally, many Vancouver homes feature complex roof designs with multiple angles and penetrations that increase the risk of water intrusion. Fortunately, understanding why your roof leaks and knowing the right solutions can save you thousands in repair costs.
Why Vancouver Roofs Leak During Heavy Rain
Vancouver homes face unique roofing challenges that make them especially vulnerable to leaks. Understanding the specific mechanisms behind rain leaks helps homeowners identify potential issues before they become costly problems.
1. Wind-driven rain and horizontal water entry
Heavy coastal winds transform ordinary rainfall into a powerful force that attacks roofs from multiple angles. Unlike straight downpours, wind-driven rain moves sideways, forcing water up and under shingles, through tiny cracks, and into vulnerable seams. This horizontal moisture intrusion bypasses many traditional roof defences designed primarily for vertical rainfall.
Wind-driven rain especially threatens areas where roofing materials meet other structures. The pressure from these storms forces water into small openings around vents, chimneys, and skylights. Once water breaches these openings, you risk significant water damage to your attic and ceiling.
In Greater Vancouver’s storm-prone environment, even properly installed roofs struggle against this combination of strong winds and heavy precipitation. Homes near the coast or in exposed hillside locations face even greater risks, as wind speeds intensify in these areas.
2. Freeze-thaw cycles and material stress
Despite Vancouver’s relatively mild climate compared to other Canadian regions, the city still experiences temperature fluctuations that damage roofing materials over time. These freeze-thaw cycles create a destructive pattern: water seeps into tiny gaps in your roof, freezes and expands, then thaws again.
Each cycle widens existing cracks slightly, gradually compromising your roof’s water-resistant properties. This continual expansion and contraction specifically affects:
- Metal flashing around chimneys and vents
- Seals around skylights and pipe penetrations
- Joints between different roofing materials
Furthermore, these temperature-related stresses often cause flashing failures, creating entry points for water that can travel far from the original source. This makes freeze-thaw related leaks especially difficult to locate and repair.
3. Prolonged rainfall and water pooling
The extended rainy season in Vancouver presents a unique challenge—your roof rarely has time to completely dry out. With the city experiencing precipitation nearly 170 days per year, roofing materials remain saturated for extended periods. This constant moisture accelerates deterioration of shingles, underlayment, and structural components. Homes with low-slope sections or drainage issues face additional risks from water pooling. In fact, flat roof drainage problems can create excessive weight that stresses the roof structure and allows water to seep into weak spots
Water pooling creates excessive weight that stresses the roof structure and finds weak spots to penetrate. As this standing water gradually works its way through even tiny imperfections, it can cause significant internal damage before becoming visible inside your home. The problem worsens in areas where leaves and debris accumulate, creating mini-dams that trap moisture against the roof surface. These conditions create ideal environments for moss growth, which further retains moisture and damages roofing materials.
Without proper drainage and maintenance, these prolonged wet conditions inevitably lead to leaks, structural damage, and even potential roof collapse in extreme cases. Regular inspections become essential precisely because Vancouver’s climate so rarely gives roofs a chance to dry completely.
Top 5 Common Leak Sources You Should Know
Identifying the exact source of a roof leak can be challenging, even for professionals. Knowing the most common culprits helps you spot potential problems before they turn into major headaches.
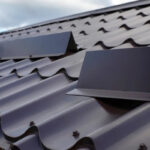
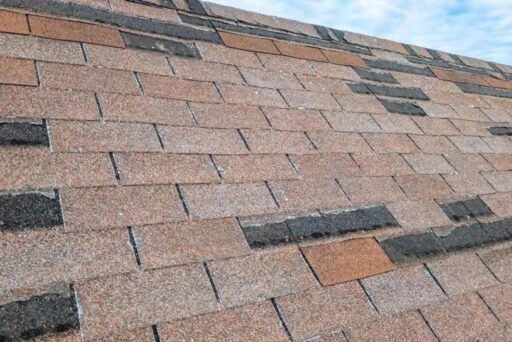
1. Damaged or missing shingles
Your roof’s first line of defence against rain comes from its outer layer. Over time, shingles can crack, curl, or completely detach from your roof. Initially, these damaged areas might allow just a small amount of moisture in, but they quickly become major entry points during heavy downpours.
Look for:
- Dark spots on your roof where granules have worn away
- Curled or bent edges on asphalt shingles
- Obvious gaps where shingles have completely blown off
Even a single missing shingle creates a vulnerable spot where water can penetrate the underlayment, especially with Vancouver’s wind-driven rain. Consequently, what starts as a minor issue can lead to significant interior damage if left unaddressed.
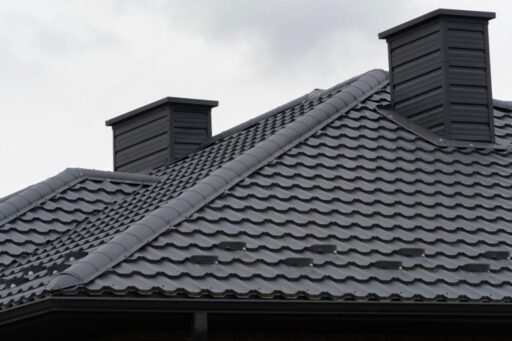
2. Cracked flashing around chimneys and vents
Flashing creates a watertight bridge between your roofing material and any penetrations like chimneys or vents. This thin metal material directs water away from these vulnerable junctions, but it’s also prone to damage.
When flashing cracks, rusts, or gets improperly installed, it essentially creates a direct pathway for water to enter your home. Notably, early signs often include water stains on ceilings directly below these penetrations. Since these spots sit above key roof plumbing and vent lines, leaks can damage insulation, wiring, and even support rafters.
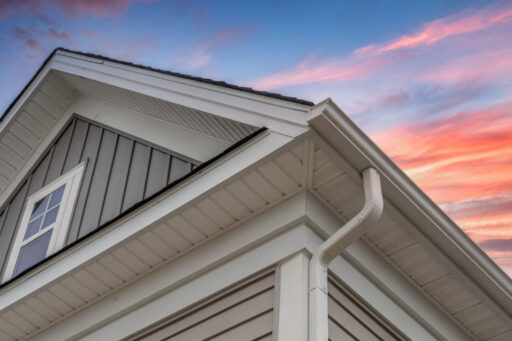
3. Clogged gutters and downspouts
Many homeowners don’t realize that clean gutters are crucial to preventing roof leaks. When gutters become clogged with leaves and debris, the water doesn’t drain properly and starts to pool on your roof. This backup can make your roof heavy with water and lead to significant leaks. In some cases, delaying gutter replacement makes the problem worse and adds unexpected costs.
As water accumulates, it will eventually find the path of least resistance—often working its way under shingles and into your home. This problem becomes particularly dangerous in winter, as pooled water can freeze, creating ice dams that force more water under your roofing materials.
4. Skylight and pipe boot failures
Skylights and pipe boots (the rubber seals around vent pipes) are common leak sources in Vancouver homes. The pipe boot is actually considered the number one cause of roof leaks by many professionals. The neoprene (synthetic rubber) material gradually cracks due to constant exposure to UV rays, usually failing within 8-10 years—well before the end of your roof’s lifespan.
Similarly, skylights create necessary but vulnerable breaks in your roof surface. The seals around these fixtures deteriorate over time, allowing water to seep in during heavy rain.
5. Roof valley and ridge vent issues
Roof valleys (where two roof slopes meet in a V-shape) channel large amounts of water during rainstorms. Without proper flashing and regular maintenance, these high-flow areas become prime spots for leaks. Debris often collects in valleys, creating dams that force water under shingles.
Ridge vents along the peak of your roof can likewise develop problems. These ventilation systems can leak due to poor installation, damaged caps, or gaps in the vent itself. High winds can also cause ridge cap damage, creating openings where water can penetrate your attic. Recognizing these common leak sources helps you identify potential issues before they cause extensive damage to your Vancouver home.
How to Spot a Leak Before It Gets Worse
Detecting early signs of rain leaks can save you thousands in repair costs. Catching these warning signs promptly allows you to address issues before water damages your home’s structure, insulation, and belongings.
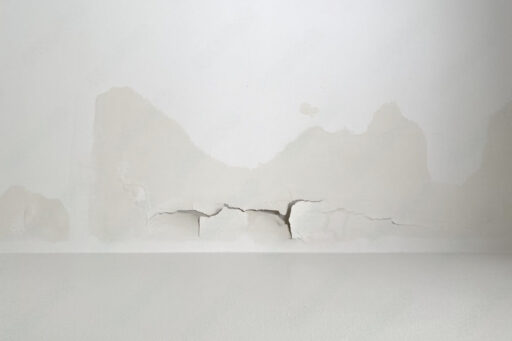
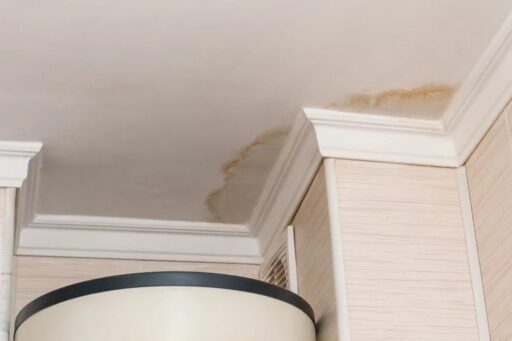
1. Water stains on ceilings or walls
Water stains are often the first visible indication of a roof leak. These stains typically appear as brown or yellowish spots on your ceiling or walls, frequently forming ring-like patterns as water evaporates and reaccumulates. The size of these stains can range from small dots to large irregular patches.
Pay close attention to:
- Brown or yellow marks with tide-like rings
- Peeling or bubbling paint around the stain area
- Dark spots spreading gradually over time
Water stains can be easy to overlook, yet they serve as an early signal that moisture has penetrated your roof. Even small stains warrant immediate investigation, as they often indicate a minor issue that could rapidly escalate into a major repair expense if left unaddressed.
2. Mould or mildew smell in attic
A musty odour in your attic often signals hidden moisture—a classic indicator of roof leaks. This distinctive smell occurs when water seeps into your roof structure, creating the perfect environment for mould growth. Once established, mould can spread quickly throughout your attic space. To check for this warning sign, visit your attic and pay attention to:
- Dank, mildew-like odours, particularly in corners or near exterior walls
- Visible dark patches on wood beams or insulation
- Rusty nails or water stains on the underside of roof decking
According to health experts, mould growth can begin on damp surfaces within 24 to 48 hours, making addressing any sign of water intrusion an urgent matter. Beyond damaging your home, mould poses significant health risks, including respiratory issues for your family.
3. Dripping sounds during storms
Sometimes, the earliest indication of a leak isn’t something you see—it’s something you hear. During heavy rainfall, take a moment to listen carefully, particularly in quiet areas of your home or in rooms directly beneath the roof. Faint dripping sounds, even when not immediately visible, often reveal active leaks within walls or ceiling cavities. These sounds typically become more noticeable during intense downpours or wind-driven rain, when water is forced through roof vulnerabilities.
If you hear dripping during a storm but can’t locate visible water, don’t dismiss it. This subtle warning sign frequently precedes more obvious damage and gives you a critical opportunity to address the issue before significant harm occurs.
4. Discolouration or sagging drywall
When roof leaks persist, ceiling materials eventually begin to deteriorate. Watch for subtle changes in your ceiling’s appearance or texture, as these often indicate advanced water intrusion.
Critical warning signs include:
- Bulging or bowed sections of drywall
- Soft areas when gently pressed
- Darkened patches that feel damp to touch
- Cracks forming in a spiderweb pattern
Sagging ceilings represent a serious safety concern, as they signal that water has saturated the drywall to the point where structural integrity is compromised. This advanced stage of damage requires immediate professional attention, as ceiling collapse becomes increasingly likely without intervention.
Fast Fixes You Can Do Right Now
When water starts dripping from your ceiling, taking immediate action can prevent minor leaks from becoming major disasters. These fast fixes will help you mitigate damage until professional help arrives.
1. Contain the leak with buckets or towels
Once you spot a leak, your first priority should be protecting your home’s interior. Grab buckets to catch any dripping water and lay down towels to absorb spills on floors and furniture. This simple step helps prevent damage to carpets, hardwood floors, and valuables while you wait for a proper roof leak repair. In addition to containing visible water, this quick response helps prevent mold and mildew, which can start growing within just 24 to 48 hours of moisture exposure.
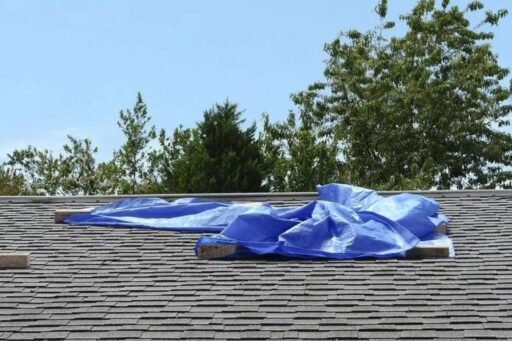
2. Use a tarp to cover the affected area
For a quick exterior fix, a heavy-duty tarp can be a temporary lifesaver. To properly install a roof tarp:
- Choose a tarp large enough to extend several feet beyond the leak in every direction
- Stretch it tightly over the damaged section from the eaves to the peak
- Secure it firmly with 2x4s (rather than nailing directly into your roof)
- Consider adding extra weight like sandbags if storms are expected
Remember that tarps are temporary solutions—they typically last a few days to weeks depending on weather conditions. Nevertheless, they effectively shield your home from further water damage until professional repairs can be completed.
3. Seal small cracks with roofing tape
For tiny cracks or small holes you can identify, roofing tape or caulk provides a quick temporary seal. These products are designed to adhere to roofing materials and create water-resistant barriers. Roofing tape works best on dry surfaces, though some types can be applied in damp conditions for emergency repairs. You can often apply it from inside your attic without climbing onto the roof, making this an especially safe option during ongoing storms.
4. Clear debris from gutters and valleys
Once it’s safe to do so, remove leaves, branches, and other debris from your roof. Accumulated materials trap moisture and create mini-dams that force water under shingles. Pay particular attention to roof valleys—the V-shaped channels where roof sections meet—as these collect the most debris and channel heavy water flow during rain. Clearing clogged gutters and downspouts is equally important, as backups can cause water to pool on your roof rather than properly draining away from your home.

Long-Term Prevention and Maintenance Tips
Proactive maintenance forms your best defense against future roof leaks. Beyond emergency fixes, these strategies will help protect your Vancouver home from the region’s challenging weather conditions.
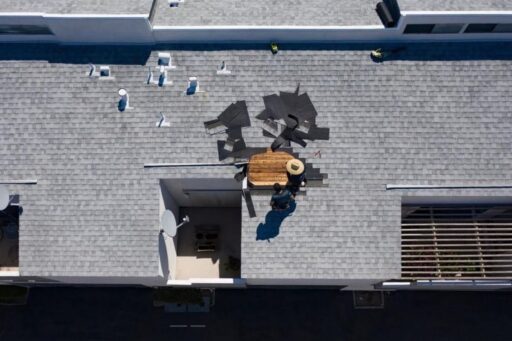
1. Schedule annual roof inspections
Aim for two professional roof inspections yearly—ideally in spring and fall. Regular check-ups help detect small issues before they become costly repairs. After major storms, schedule additional inspections to assess potential damage. Professionals examine seals around chimneys, vents, and other vulnerable areas that typically allow water entry. This preventative approach saves thousands in potential repair costs.
2. Clean gutters every season
Clogged gutters cause water to back up and damage your roof structure. Subsequently, establish a quarterly cleaning routine to maintain proper water flow. Fall requires extra attention as leaves accumulate rapidly. Consider professional gutter cleaning services if you’re unable to safely perform this maintenance yourself.
3. Trim overhanging branches
Tree limbs near your roof create multiple problems: they drop debris that clogs gutters, their movement can damage shingles, and they provide easy roof access for pests. Keep branches at least 6-10 feet from your roofline to minimize these issues.
4. Apply moss treatment
Vancouver’s damp climate makes moss growth inevitable on many roofs. This vegetation retains moisture against roofing materials, accelerating deterioration. Professional moss treatments provide longer-lasting protection than DIY methods without damaging shingles.
5. Upgrade flashing and sealants
High-quality flashing materials like copper or stainless steel offer superior protection against water intrusion. Henceforth, check sealant condition around roof penetrations regularly and replace deteriorated materials promptly to prevent leaks.
Summary
Living in Vancouver means accepting our abundant rainfall as a fact of life. Nevertheless, your home should remain a dry sanctuary even during the heaviest downpours. Roof leaks, while common in our climate, should never be considered inevitable or normal. Long-term protection comes through consistent maintenance rather than reactive repairs. Regular inspections, seasonal gutter cleaning, proper tree management, and moss prevention create a comprehensive defense against Vancouver’s challenging weather. Your vigilance pays off through extended roof lifespan and thousands saved in potential repair costs.