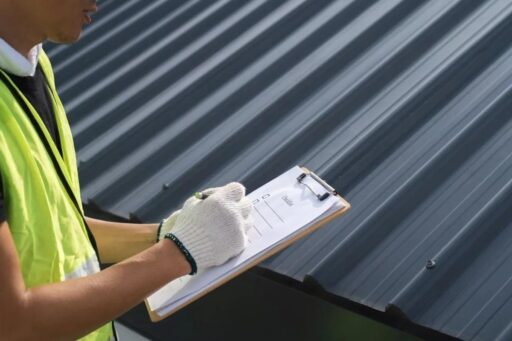
Professional roof installation costs in Canada can range up to $12,000 for an average home. The price might seem daunting, but you could save up to 50% by installing asphalt shingles yourself. While the project might appear challenging at first, with the right tools and preparation, it’s possible to complete it in a single weekend. Installing asphalt shingles is less complex than many homeowners expect. With careful planning and attention to detail, your results can rival professional standards. Whether you’re replacing damaged shingles or upgrading your entire roof, this guide on how to install asphalt roof shingles will ensure a smooth process. Protect your home with durable and cost-effective roofing. Let’s dive into the essential steps to successfully install your shingles with confidence.
Safety First: Protecting Yourself and Your Home
Your safety must come first before you start saving money on DIY roof installation. Working high up needs good preparation and the right equipment to keep you and your property safe.
Safety gear gives you the first defence when installing asphalt roof shingles. You need this equipment:
- A well-fitted safety harness with proper anchoring system
- Non-slip roofing boots with good traction
- Safety glasses and heavy-duty work gloves
- Hard hat to protect against falling debris
- High-quality knee pads that keep you comfortable during installation
Creating a Safe Work Environment
Always check the weather forecast before you start your roofing project. Stay off the roof in wet, windy, or very hot weather. Make your workspace secure by:
- Keeping a 15-foot clearance around your house
- Setting up stable ladder systems with proper anchoring
- Installing guardrails where needed
- Marking hazards like power lines and skylights
- Laying protective tarps that catch falling debris
Emergency Preparation Tips
Keep a full first aid kit where you can reach it and set up clear ways to talk with someone on the ground. Never work alone while installing asphalt roof shingles — a helper is vital in emergencies. Your mobile phone should be charged and within reach. Know where the nearest medical facility is located.
Note that you should check all safety equipment before each use and replace worn or damaged items right away. Your life depends on your safety gear’s condition.

Smart Material Selection and Storage
The right materials make a vital difference when installing asphalt shingles. Here’s what you need to know about your options and how to protect your investment through proper storage.
Choosing the Right Shingle Type
Understanding how to install asphalt roof shingles starts with choosing the right type. Your choice of asphalt shingles will affect your roof’s lifespan and your budget. You have four main types to choose from:
- 3-tab shingles: Simple, flat appearance, lasting up to 20 years
- Architectural shingles: Dimensional look, 25-year lifespan
- Luxury shingles: Premium appearance, 30+ year durability
- Performance shingles: Enhanced durability and weather resistance, ideal for Canada’s climate, with a lifespan of 35+ years.
3-tab shingles are the most economical option at $5 per square foot. Architectural shingles offer better value at $8 per square foot and have a much longer lifespan. Quality is key—investing in better materials now can save you from costly repairs down the road.
Good storage practises protect your shingles’ quality before installation. Your shingles need a cool, dry space with temperatures below 110 °F. Bundles should stay flat. Never stack them more than two pallets high without proper support.
Important storage tips:
- Store shingles on a raised platform, not directly on the ground
- Keep bundles dry and covered until installation
- Maintain proper ventilation to prevent moisture buildup
- Handle bundles with care to protect sealant strips
Check all bundles for damage when they arrive. Smart material choices and proper storage are the foundations of a lasting roof installation.
Professional Techniques for DIY Success
Professional installation techniques help asphalt shingles last for decades. Here’s a closer look at expert methods that deliver professional-quality results.
Precise chalk lines guide your installation effectively. These professional tips ensure accurate measurements:
- Mark horizontal lines at 336 mm (13 7/32 inches) intervals from the lower edge
- Ensure a 50 mm (2-inch) headlap to protect against water
- Offset each course’s end joints by at least 125 mm (5 inches)
- Use alignment slits on shingles as positioning guides
Nailing Patterns and Techniques
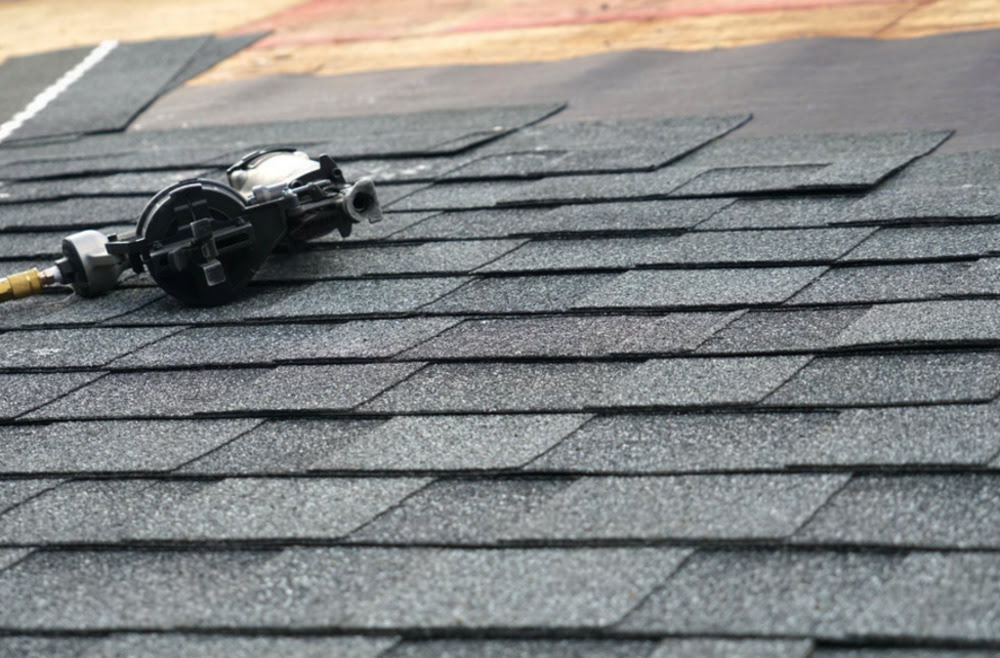
Proper nailing is vital to achieve wind resistance and longevity. These steps are essential:
- Use minimum 12-gauge galvanized roofing nails
- Position nails just below the sealant strip
- Drive nails straight and flush with the shingle surface
- Apply four nails per standard shingle
- Increase to six nails in high-wind areas or steep slopes
Cutting and Fitting Tips
Precision cutting creates professional-looking results. Always cut from the shingle’s face side with a sharp utility knife that has a hook blade. Shingles should extend slightly up the flashing when fitting around vents or chimneys, then seal them with asphalt cement.
Snap chalk lines periodically and check your work from the ground to maintain straight lines. A straight edge guides your cuts along valleys and ridges. Your attention to detail in these technical aspects will substantially improve your roof’s appearance and functionality.

Common Mistakes and Troubleshooting
DIY enthusiasts with years of experience can still make mistakes while installing asphalt roof shingles. You can avoid pricey repairs later by learning about common pitfalls and their solutions.
Avoiding Rookie Installation Errors
Nailing process errors happen most often during installation. Improper nail placement weakens your roof’s wind resistance and creates leaks. These common mistakes need attention:
- Overdriven nails that break through the shingle surface
- Nails placed outside the manufacturer’s nailing zone
- Crooked or loose nails that don’t sit flush
- Missing starter shingles at eaves and rakes
Weather-Related Challenges
Temperature and moisture substantially affect your shingle installation. Shingles can crack when handled at temperatures below 40°F, while temperatures above 80°F soften the material and make it prone to damage. Never install shingles during rainfall because trapped moisture between layers creates future problems.
Quick Fixes for Common Issues
Small tears or cracks can be fixed by applying roofing cement under the damaged area and securing it with roofing nails. Curled corners need a small amount of asphalt roofing cement to re-adhere the shingle. Note that roofing cement should not be used much of either as it becomes visible and looks unattractive.
Replacing individual shingles requires carefully lifting the overlapping pieces and removing the damaged one. The self-sealing strip breaks easily with a flat pry bar, allowing the new shingle to slide into position. Keep extra shingles from your original installation to ensure exact matches for future repairs.
Summary
Learning how to install asphalt roof shingles allows you to complete a durable roof installation over a weekend. The task might seem daunting at first, but your attention to safety measures, material selection, and professional techniques will create a durable, weather-resistant roof that protects your home for decades. Quality materials and proper storage substantially affect your roof’s lifespan. You can avoid common DIY mistakes by taking precise measurements, following correct nailing patterns, and checking weather conditions during installation. The process deserves your undivided attention at each step. A properly executed DIY roof installation saves thousands of pounds and gives you the pride of completing a major home project. These guidelines and safety protocols will help you achieve professional results that last.

