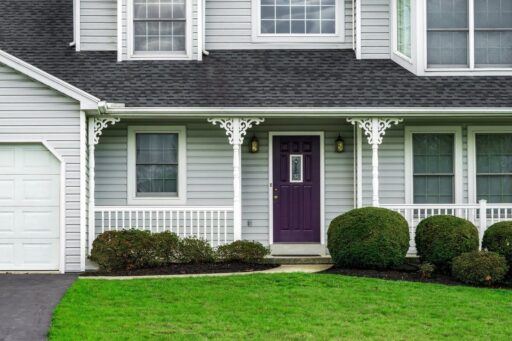
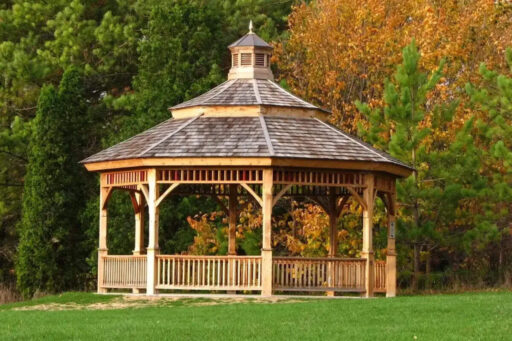
Cedar shingles have been a favoured roofing material for many homeowners, prized for their natural beauty and durability. These shingles, derived from cedar trees, provide an aesthetic appeal that is hard to match, creating a rustic yet elegant look for your home. Cedar is naturally resistant to moisture, insects, and decay, making it an excellent choice for long-lasting protection against the elements. If you’re wondering how to install cedar shingles, it’s important to understand their unique properties first.
Cedar Shingles 101: What You Should Know
Understanding cedar shingles is the first step to a successful installation. These shingles come in different grades and thicknesses, each suited for distinct applications. Premium grades offer fewer knots and a smoother finish, ideal for visible areas, while lower grades can be used for less visible parts of the roof or as underlayers.
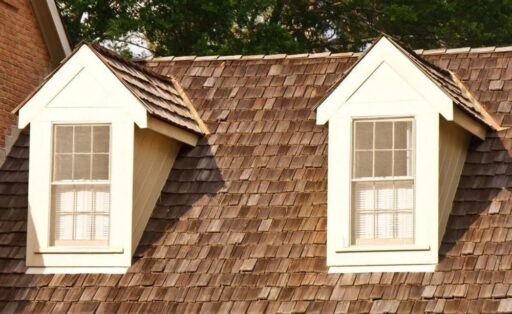
Cedar shingles are typically available in two types: red cedar and white cedar. Red cedar is known for its rich, warm tones and greater resistance to moisture, while white cedar offers a lighter colour that can weather to a silvery gray over time. Choosing the right type depends on your aesthetic preferences and the specific conditions of your area.
When properly installed and maintained, cedar shingles can last anywhere from 30 to 50 years, depending on your climate and how much exposure they receive. Their natural resistance to insects and decay makes them a long-term investment in both beauty and protection. Occasional maintenance, such as cleaning or re-oiling, can help maximize their lifespan.
What You Need Before You Start
Before you begin installing cedar shingles, gather all the necessary tools and materials to streamline the process. A comprehensive checklist can prevent unnecessary delays and ensure you have everything at hand. Essential tools typically include a tape measure, utility knife, chalk line, ladder, and a nail gun or hammer. Additionally, safety gear such as gloves, goggles, and a hard hat is crucial to protect yourself during installation.
Alongside tools, you’ll need materials like cedar shingles, roofing felt, drip edge, and stainless steel or galvanized nails. Roofing felt acts as an underlayment, providing an additional layer of protection against moisture. The drip edge is important to direct water away from the roof and prevent damage to the underlying structure. Make sure to have these materials ready before you start.
It’s also crucial to prepare the roof surface. Ensure the roof deck is clean, dry, and in good condition, as any existing damage can affect the new shingles. Removing any old roofing material and repairing damaged areas will provide a solid foundation for your cedar shingles. A well-prepared roof deck is essential for a successful installation and the longevity of your new roof.
How to Prepare Your Roof or Wall
Proper preparation of your roof or wall is critical for a successful cedar shingle installation. Start by inspecting the surface for any damage or irregularities. Repair any weak spots or rotting areas, as a stable foundation is essential for the shingles to perform effectively. Clean the area thoroughly to remove debris, dust, or old materials that might hinder the installation process.
Next, install a roofing felt or underlayment over the entire surface. This layer acts as a secondary barrier against moisture, protecting your home in case of shingle damage. Ensure the underlayment is laid flat, with no wrinkles or bubbles that could compromise its effectiveness. Overlap each row by a few inches to prevent water seepage.
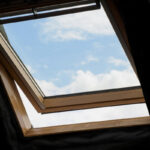
Finally, plan the layout of your shingles. Use a chalk line to mark guidelines on the surface. These lines will help you maintain straight rows and consistent spacing throughout the installation. Pay special attention to areas around chimneys, vents, or skylights, as these require precise cuts and additional flashing to prevent leaks.
How to Install Cedar Shingles: Step-by-Step Guide
Installing cedar shingles involves several steps to ensure a professional finish. Follow this guide to install your shingles correctly:
Start with the Starter Course:
- Begin at the bottom edge of your roof or wall.
- Install a double layer of shingles as the starter course to provide extra protection against water.
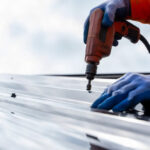
Lay the Shingles:
- Position the first shingle at the edge, leaving a 1/2-inch overhang.
- Use galvanized nails to secure the shingle, placing them about 3/4 inch from the edges and 1 inch above the butt.
Continue Laying Rows:
- Overlap each shingle by half its width.
- Maintain consistent spacing to allow for expansion and contraction.
Cut and Fit Shingles:
- Use a utility knife to trim shingles around vents or edges.
- Install flashing around chimneys and skylights to prevent leaks.
Finish with the Ridge Cap:
- For roofs, install ridge cap shingles at the peak.
- Ensure each cap overlaps the previous one to direct water away from the roof.
Pay attention to the weather conditions during installation. Excessive heat can cause shingles to expand, while cold temperatures can make them brittle. Aim to work in moderate conditions for optimal results.
Troubleshooting: What Can Go Wrong
Even with careful planning, challenges can arise during the installation of cedar shingles. Understanding potential issues can help you address them promptly and avoid costly repairs. One common problem is improper alignment, which can lead to uneven spacing and a less attractive finish. Regularly check your alignment with a chalk line to maintain a straight and uniform appearance.
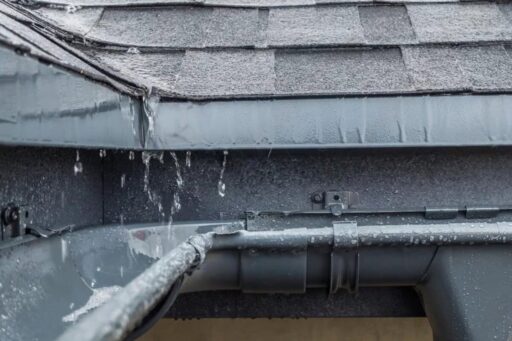
Moisture infiltration is another concern, particularly if the shingles are not installed correctly. Ensure each shingle is securely nailed and that the roofing felt and drip edge are properly positioned to prevent water from seeping underneath. Regular inspections during installation can help identify any areas that need adjustment.
Lastly, be mindful of environmental factors such as wind and temperature. High winds can disrupt the alignment of shingles, while extreme temperatures can affect the wood’s expansion and contraction. Plan your installation during calm weather conditions and consider acclimating the shingles to your local climate before installation to reduce these risks. Professional contractors always consider these variables when deciding how to install cedar shingles for long-term performance.

When to DIY and When to Call a Roofer
Deciding between a DIY approach and hiring a professional roofer depends on your skill level and the complexity of the project. Installing cedar shingles can be a rewarding DIY project if you have experience with roofing and the necessary tools. It allows you to save on labour costs and gain a deeper understanding of your home’s roofing system.
However, certain situations call for the expertise of a professional roofer. If your roof has a steep pitch or complex design, professional installation may ensure a safer and more precise outcome. Additionally, if you encounter structural issues during preparation, a roofer can provide the necessary repairs and advice to prevent future problems.
Ultimately, whether you choose to DIY or hire a roofer, prioritize safety and quality. A well-installed roof is crucial for protecting your home and maintaining its value. Consider your comfort level and the specific requirements of your project when making this decision.
Final Thoughts
Installing cedar shingles is a rewarding project that enhances the beauty and durability of your home. With the right preparation, tools, and knowledge, you can achieve a professional finish that protects your home for years. Understanding the characteristics of cedar shingles and following a methodical approach ensures a successful installation. Contact us today for a free quote and experience the benefits of a well-installed cedar shingle roof firsthand. Your home deserves the best, and with cedar shingles, you can achieve a roof that’s both beautiful and enduring.